Work with GitHub Repositories
Connect your GitHub repositories to Tediux and experience a complete development workflow — from code to deployment, all powered by AI.
What You Can Do
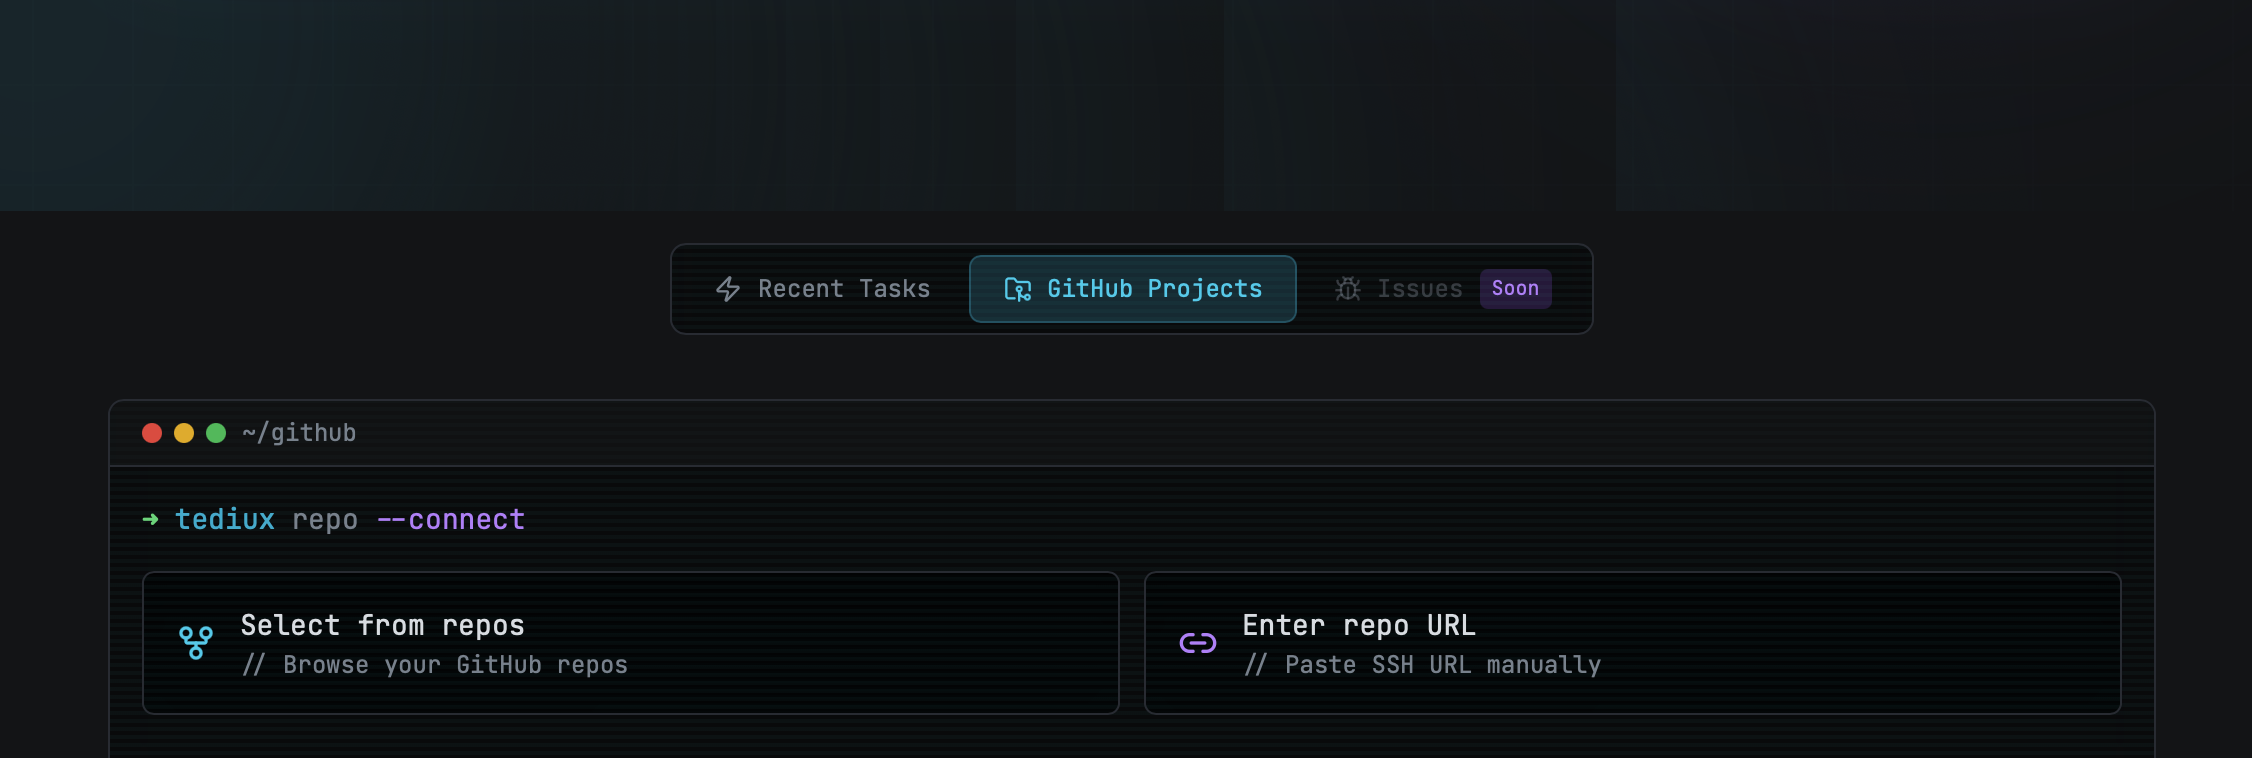
Connect any GitHub repository Start tasks and let AI work on your codebase Deploy your website in one click Update code using natural language chat Add knowledge base files for context Work in a powerful side-by-side view Open your project in VS Code for Web Navigate to the GitHub Projects tab in the top navigation. This is your hub for all repository connections.
GitHub Projects tab - your starting pointYou'll see two options:
Select from repos — Browse repositories from your connected GitHub account Enter repo URL — Manually paste an SSH URL for any repository Option A: Select from your repos
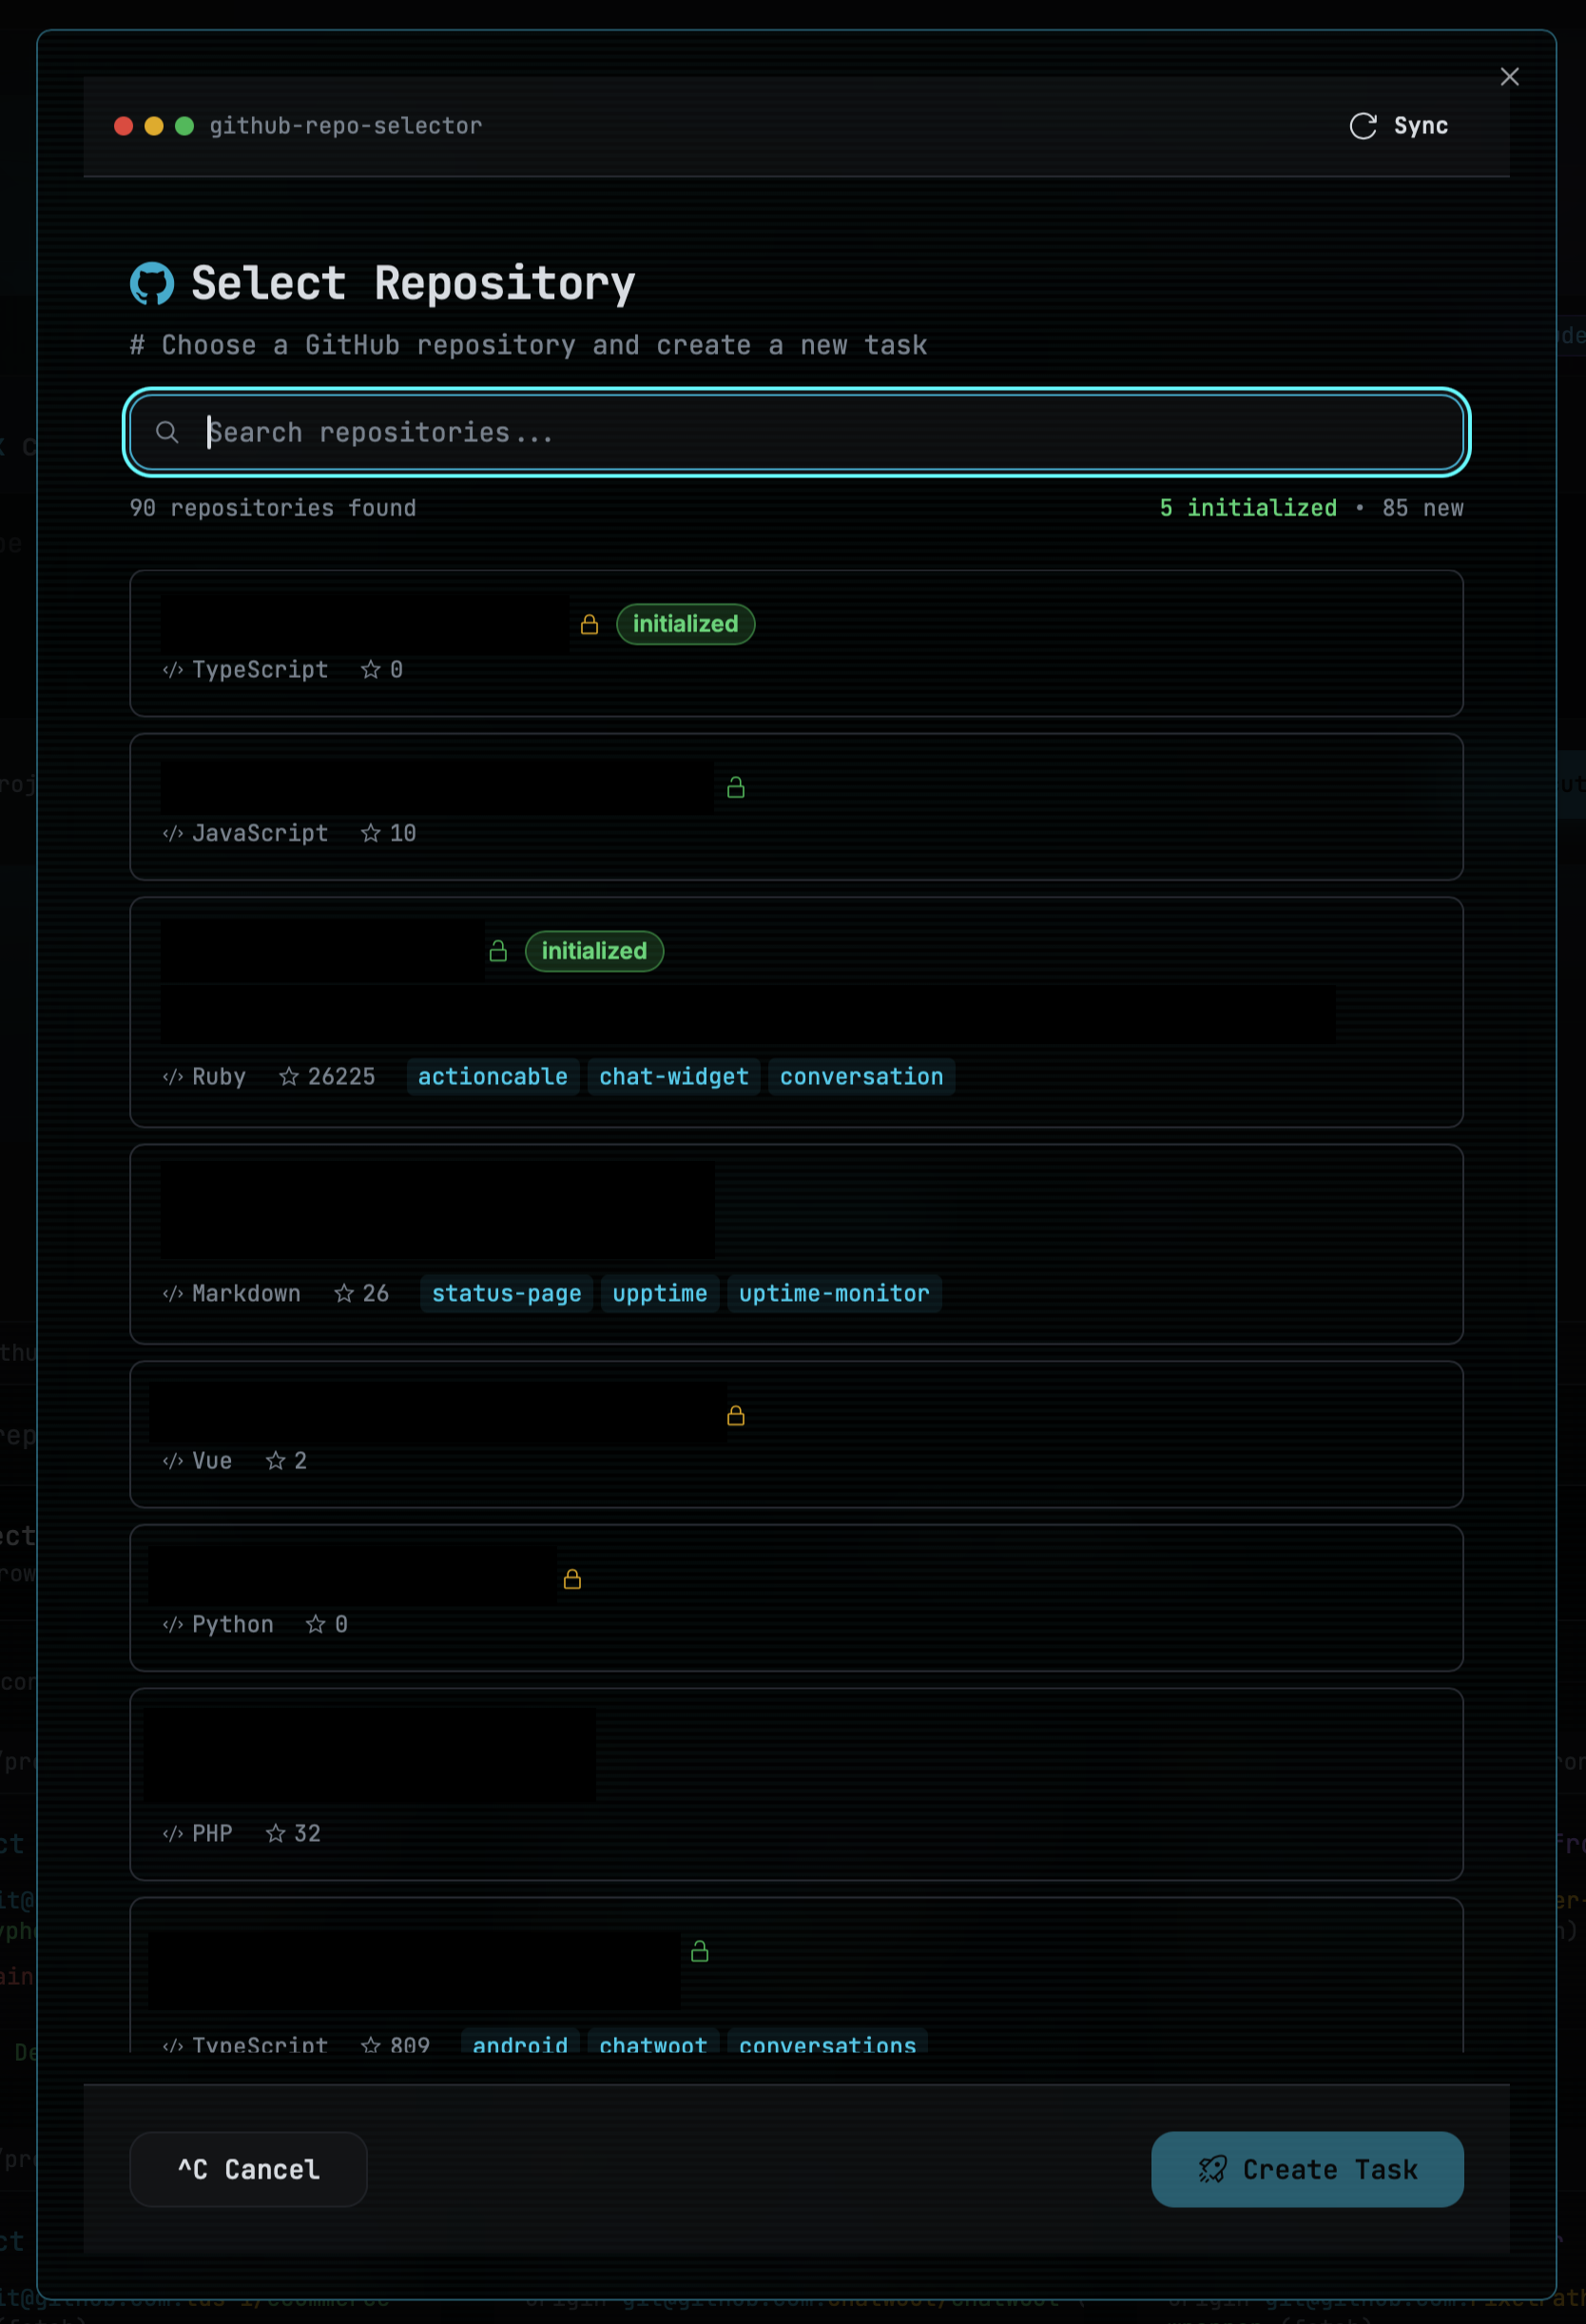
Click "Select from repos" to see all your GitHub repositories. Use the search bar to quickly find what you need.
Browse and search your GitHub repositoriesSearch — Filter by name or description Sync — Refresh to see newly created repos Create Task — One click to start working Option B: Enter SSH URL manually
For repositories not in your list, paste the SSH URL directly:
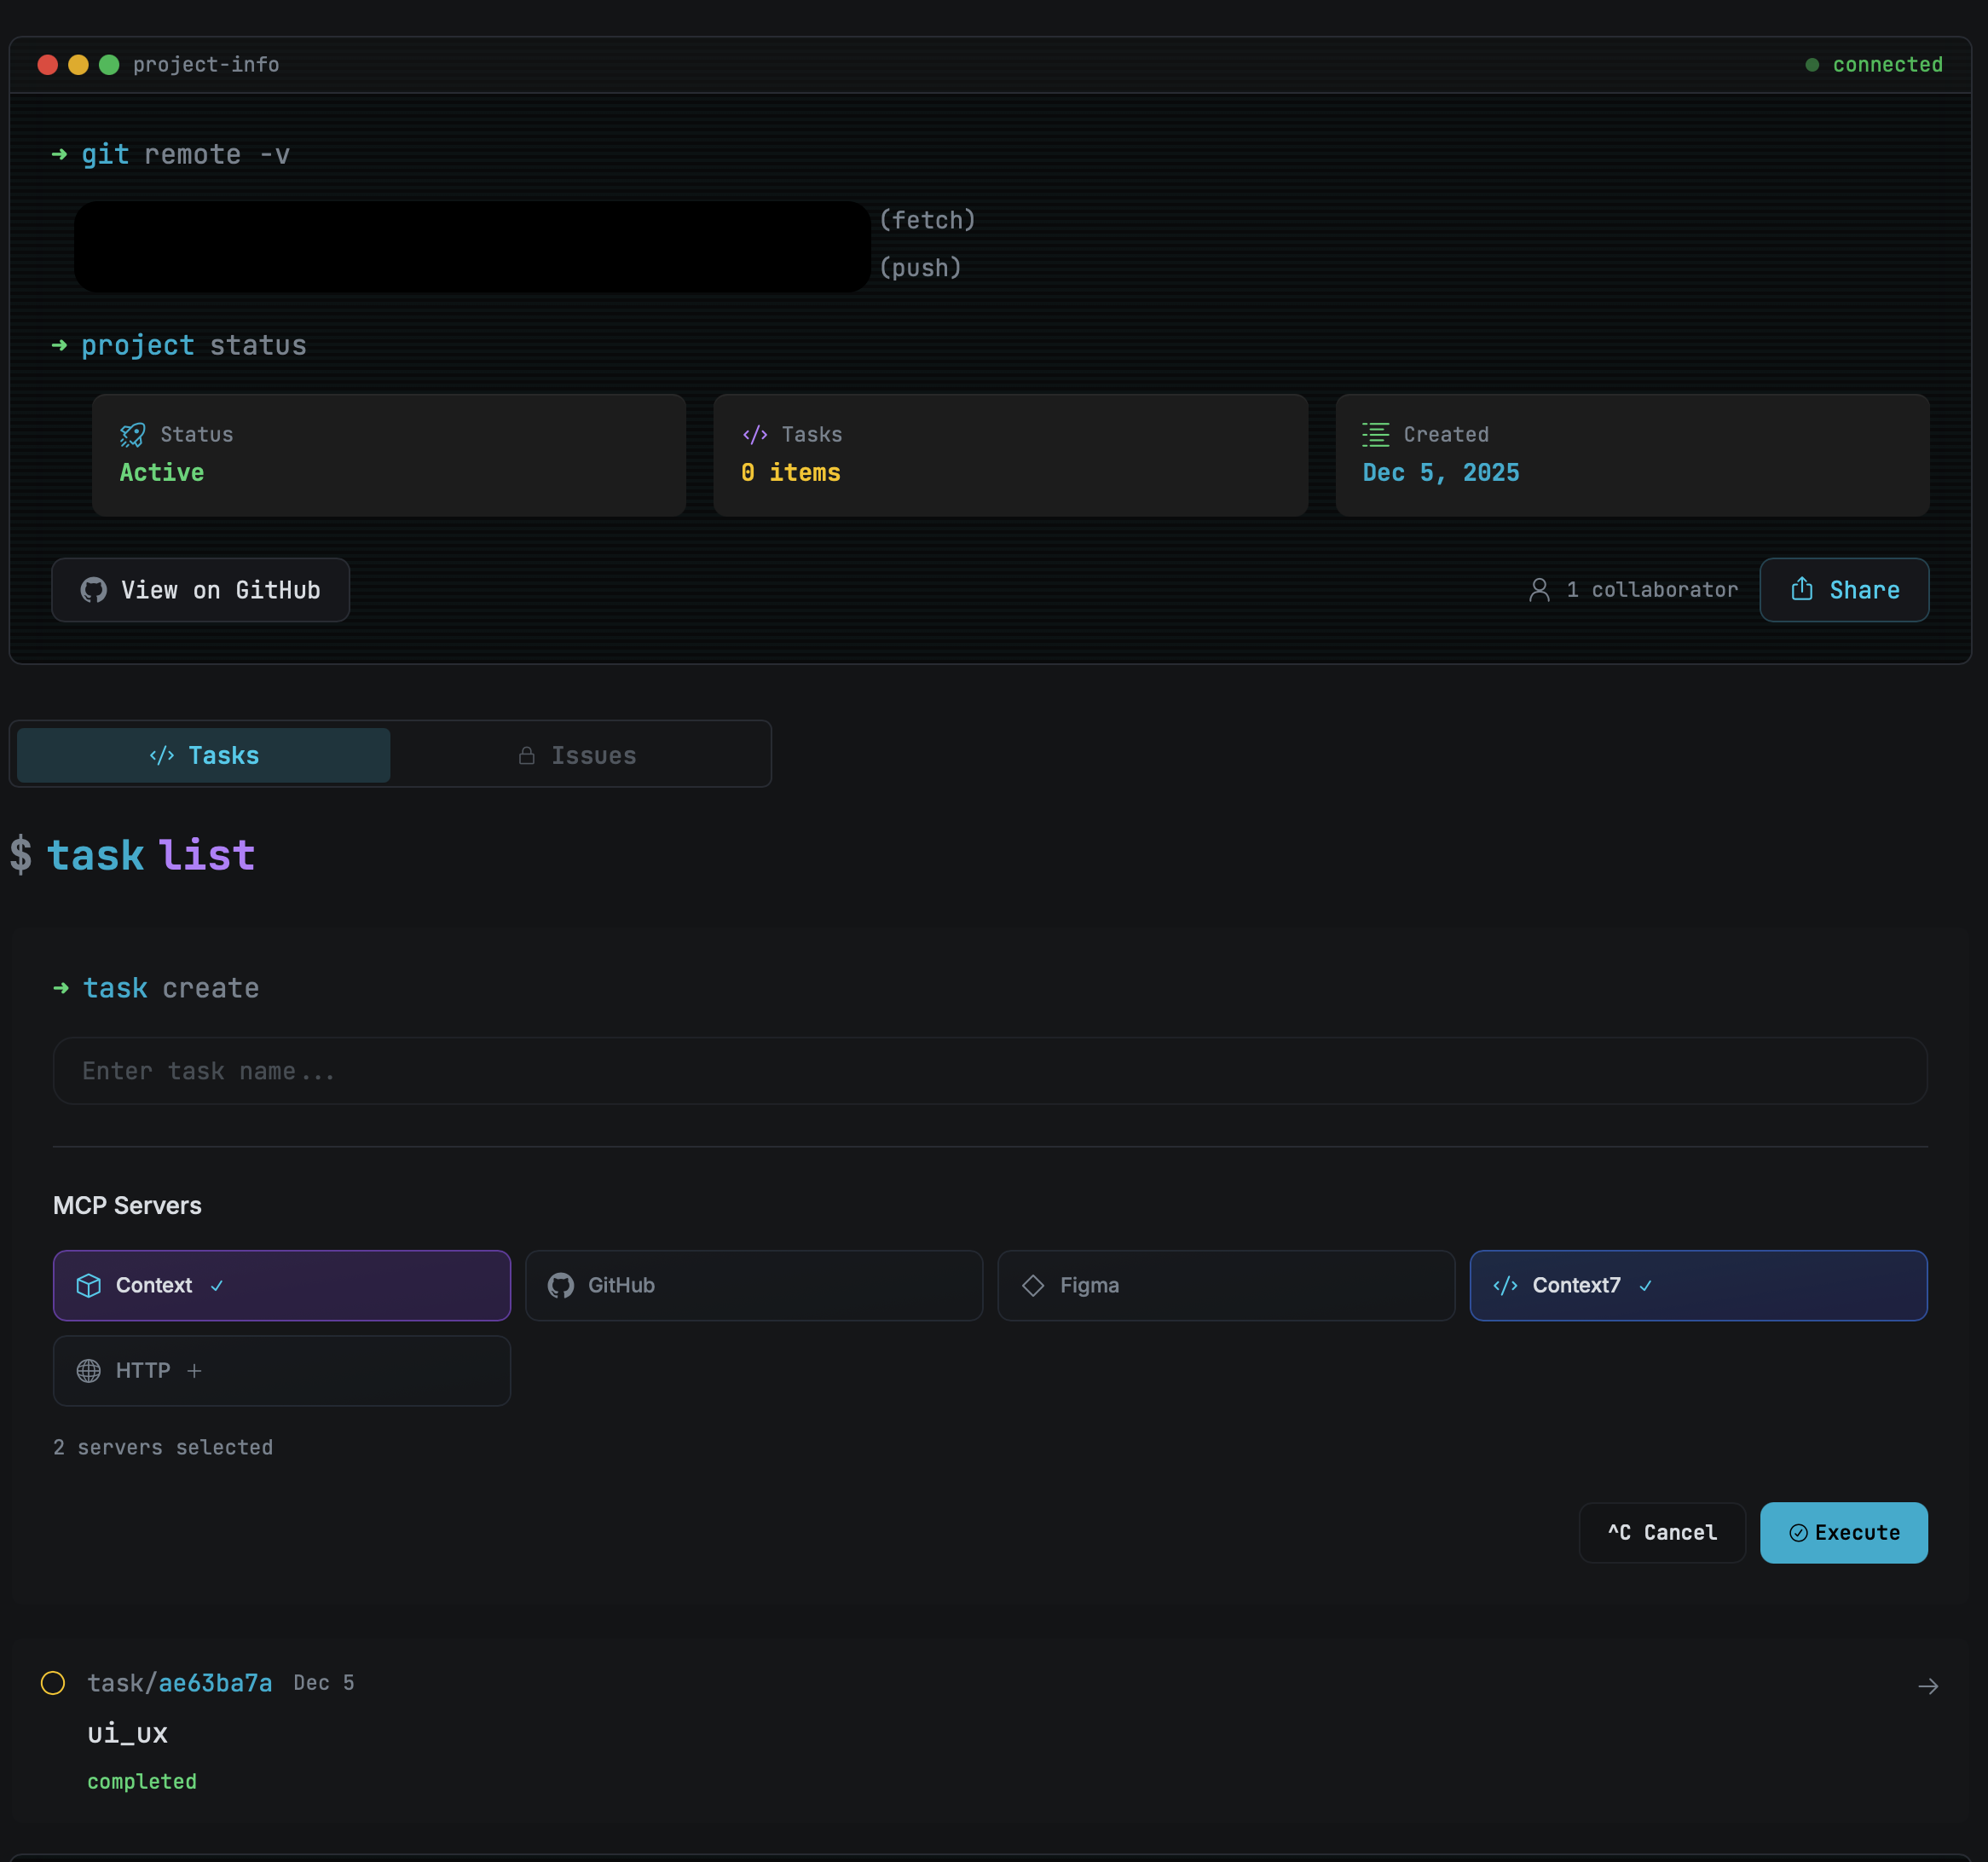
Enter repository details manuallyProject Name — Give your project a meaningful name Remote Origin — Paste the SSH URL (git@github.com:user/repo.git) git init && push — Initialize and connect to GitHub Once your repository is connected, create a new task to start working. Describe what you want to build or change:
Create a new task in your projectExamples:
"Add a contact form to the homepage" "Fix the mobile navigation bug" "Refactor the authentication system" The AI will analyze your codebase and start working on your request.
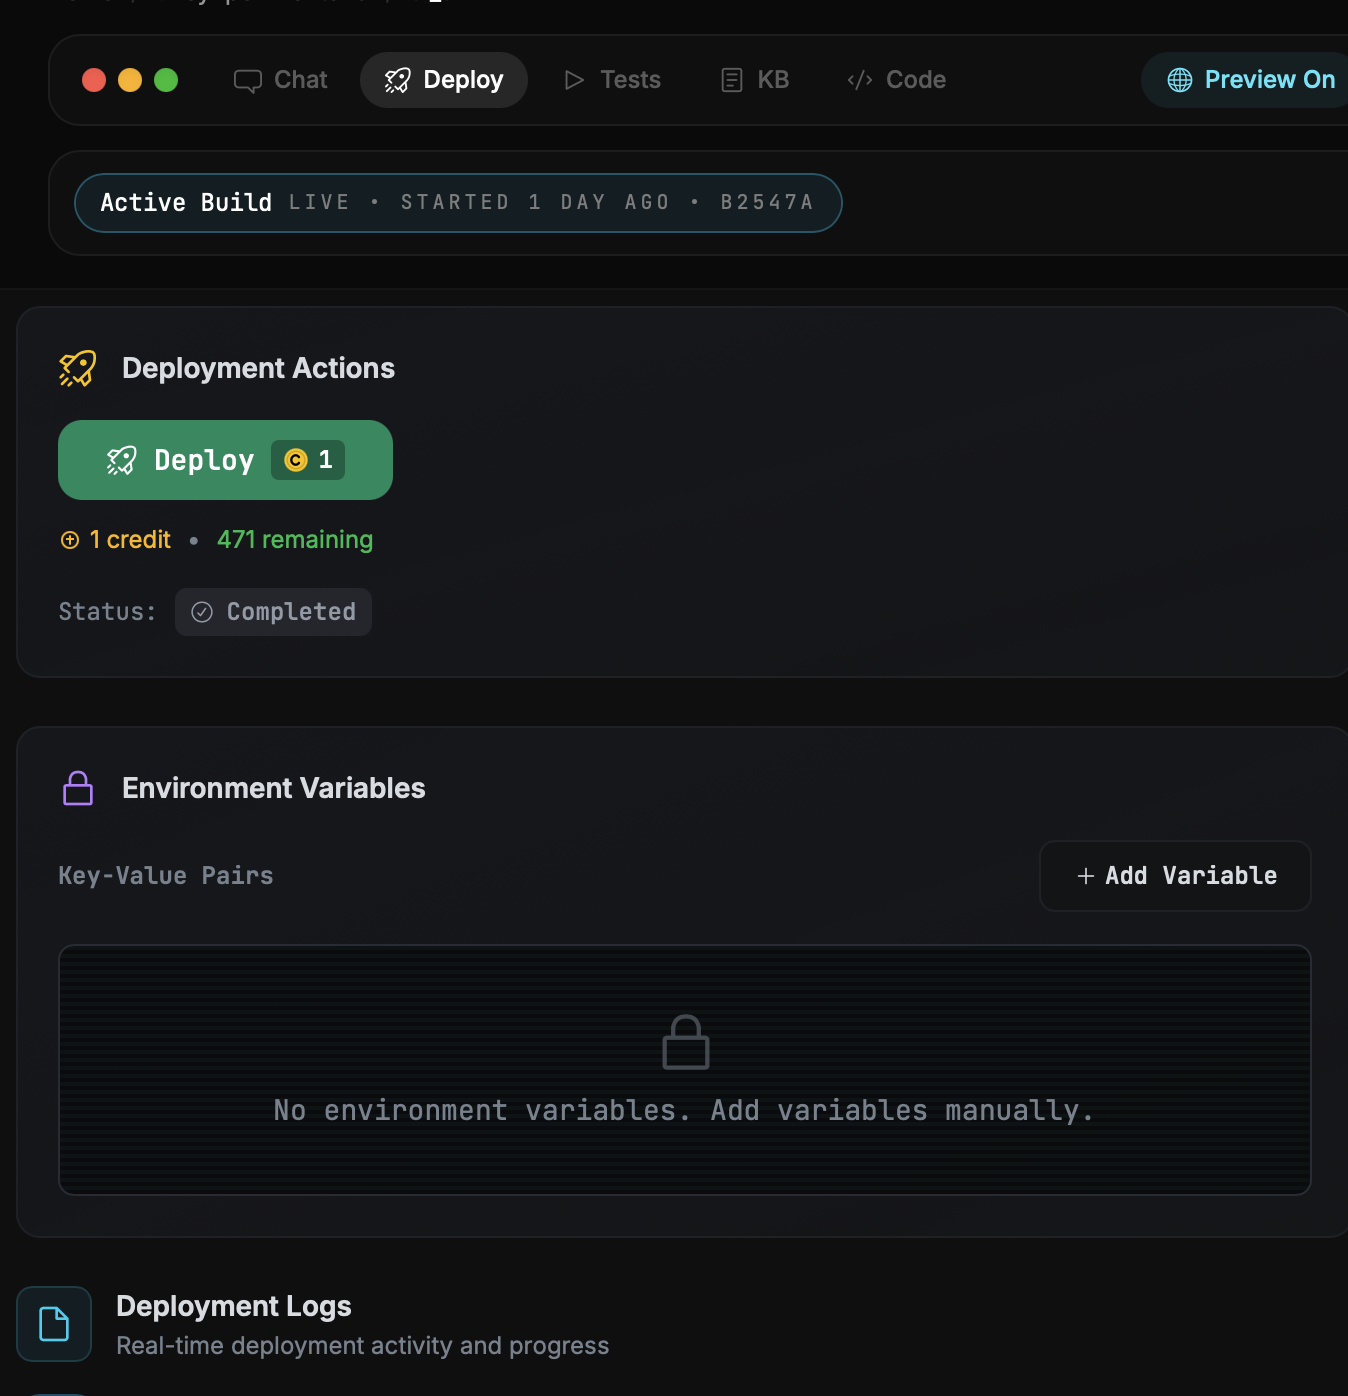
When you're ready to go live, deploy your website instantly:
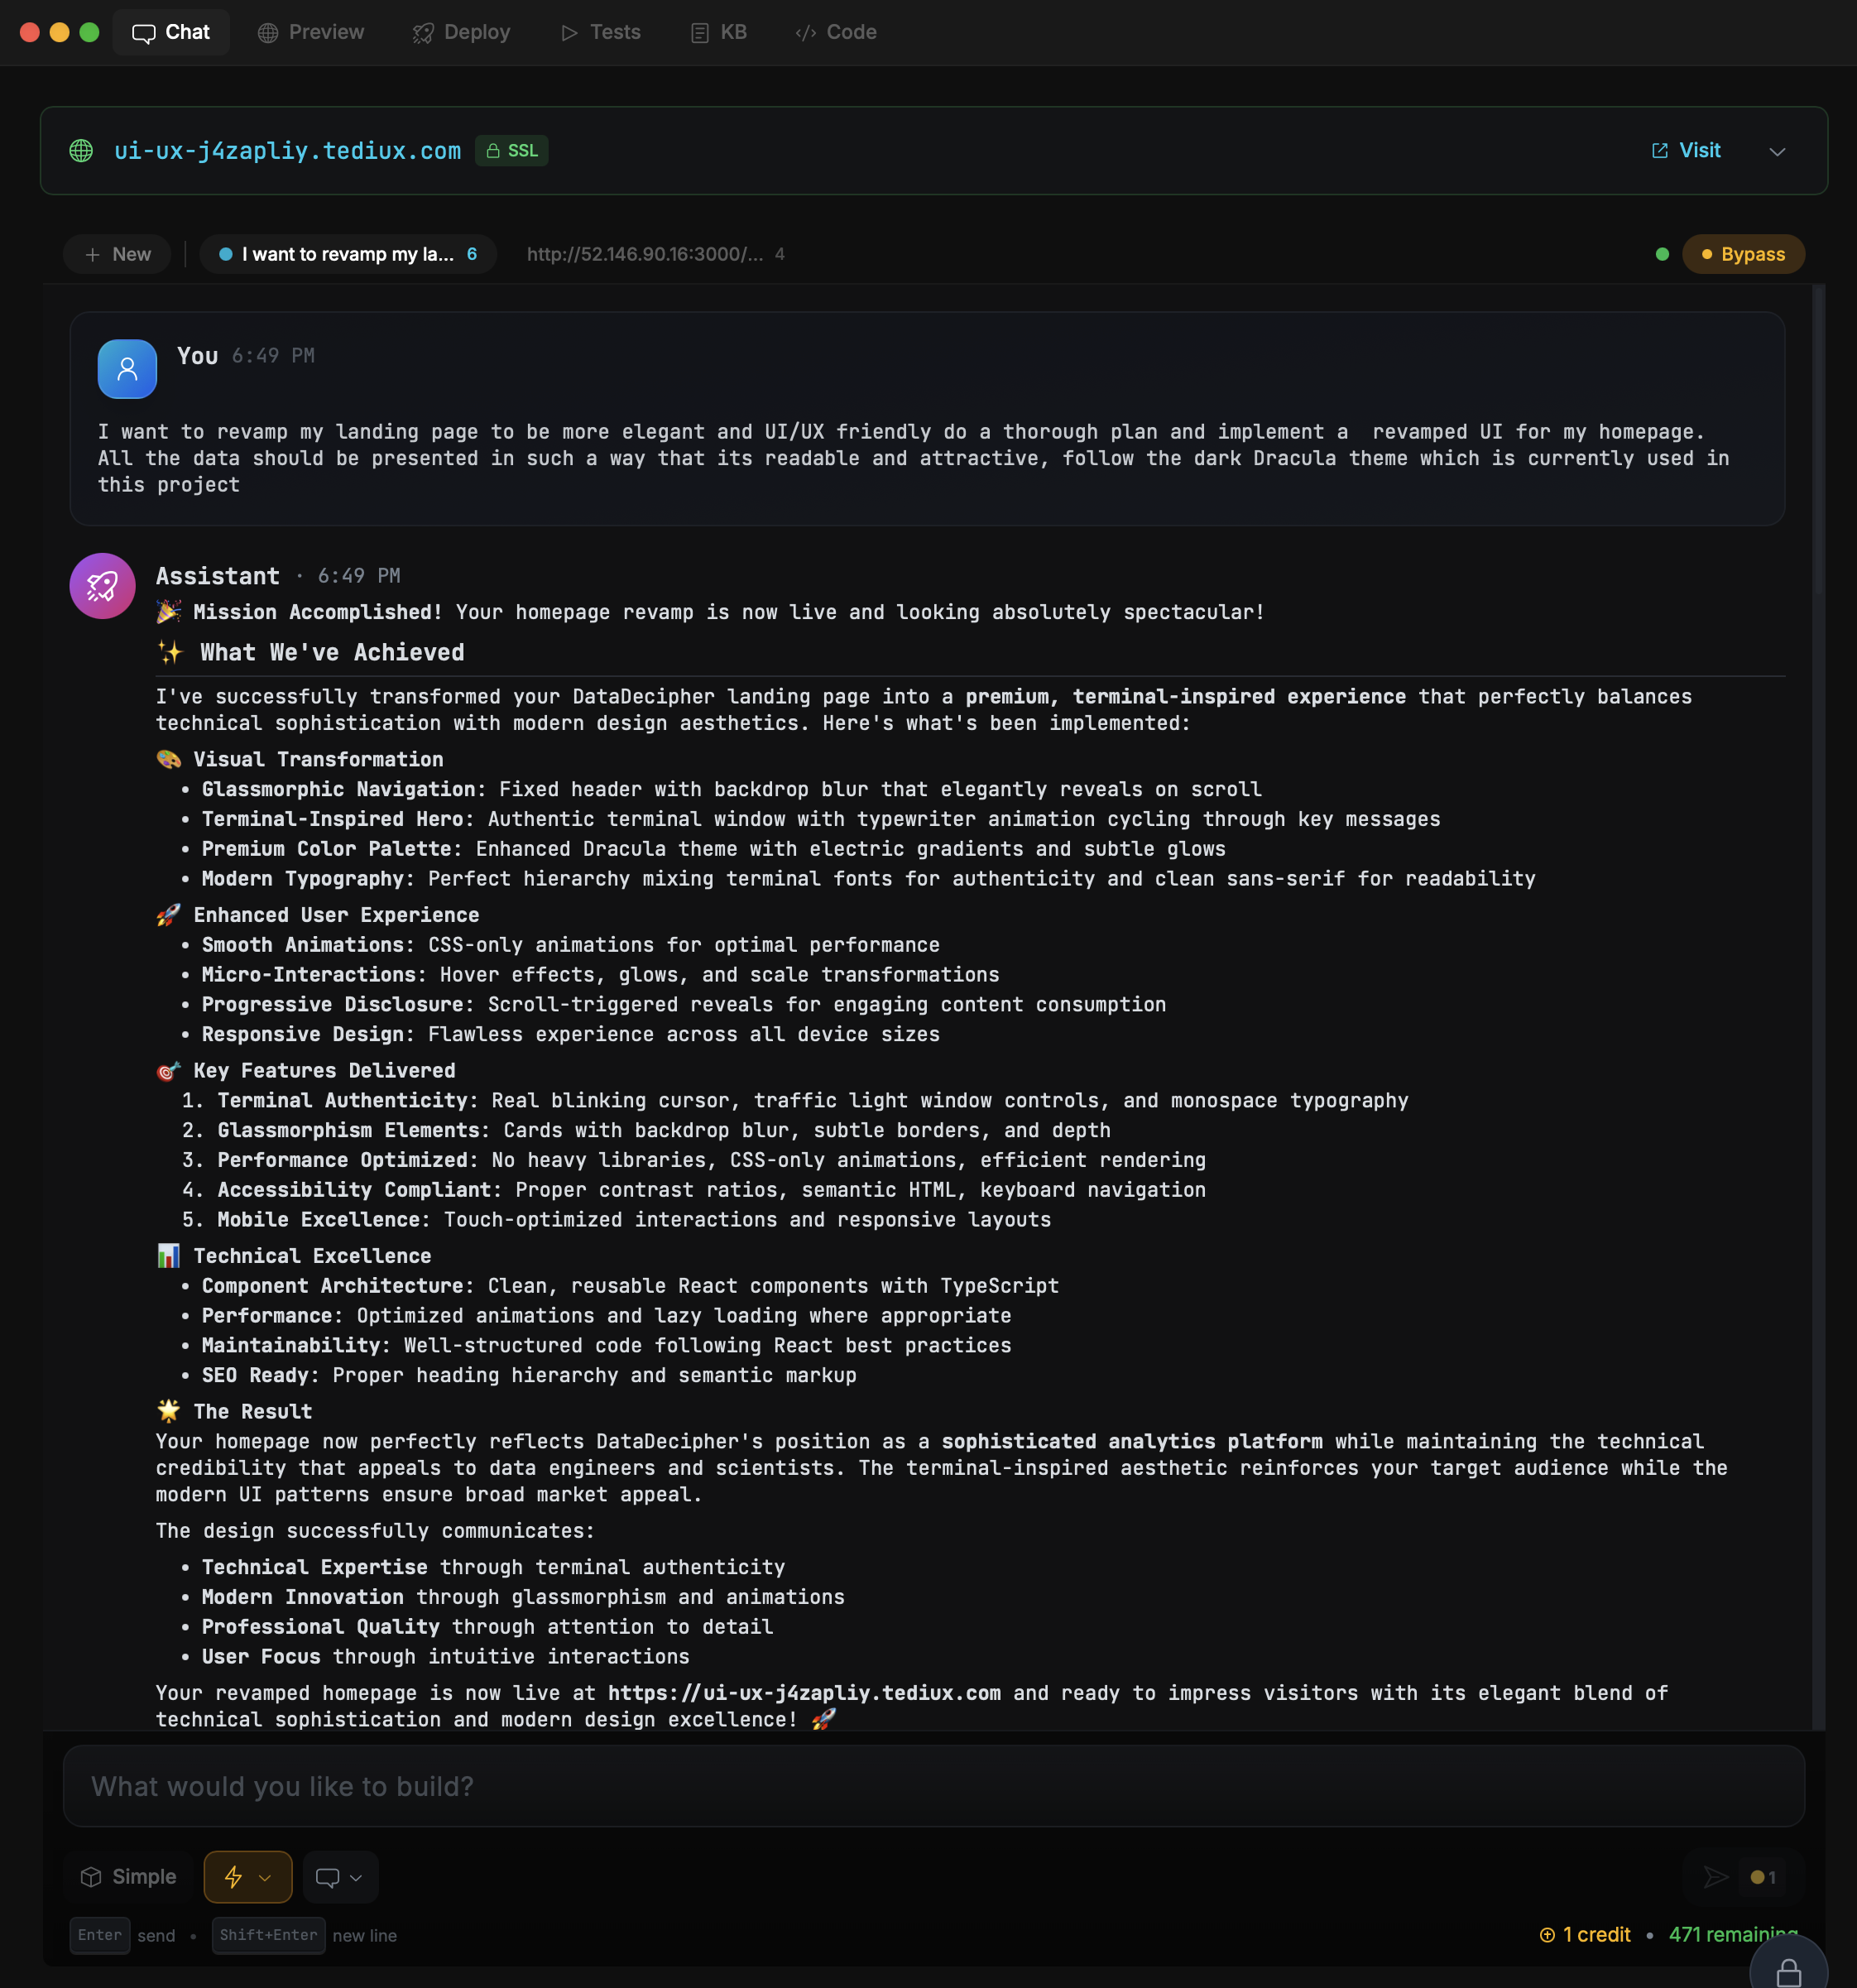
One-click deployment to productionYour site goes live in seconds Get a shareable URL immediately Make changes to your deployed site using natural language:
Update your site through conversationSimply describe what you want:
"Change the hero text to 'Welcome to My Site'" "Make the buttons blue instead of green" "Add a new testimonials section" Changes deploy automatically after each update.
Upload files to give the AI more context about your project:
Add files to your project's knowledge baseUpload:
Documentation — README, API docs, style guides Design Files — Mockups, wireframes, brand guidelines Reference Code — Examples, templates, snippets The AI uses these files to better understand your requirements.
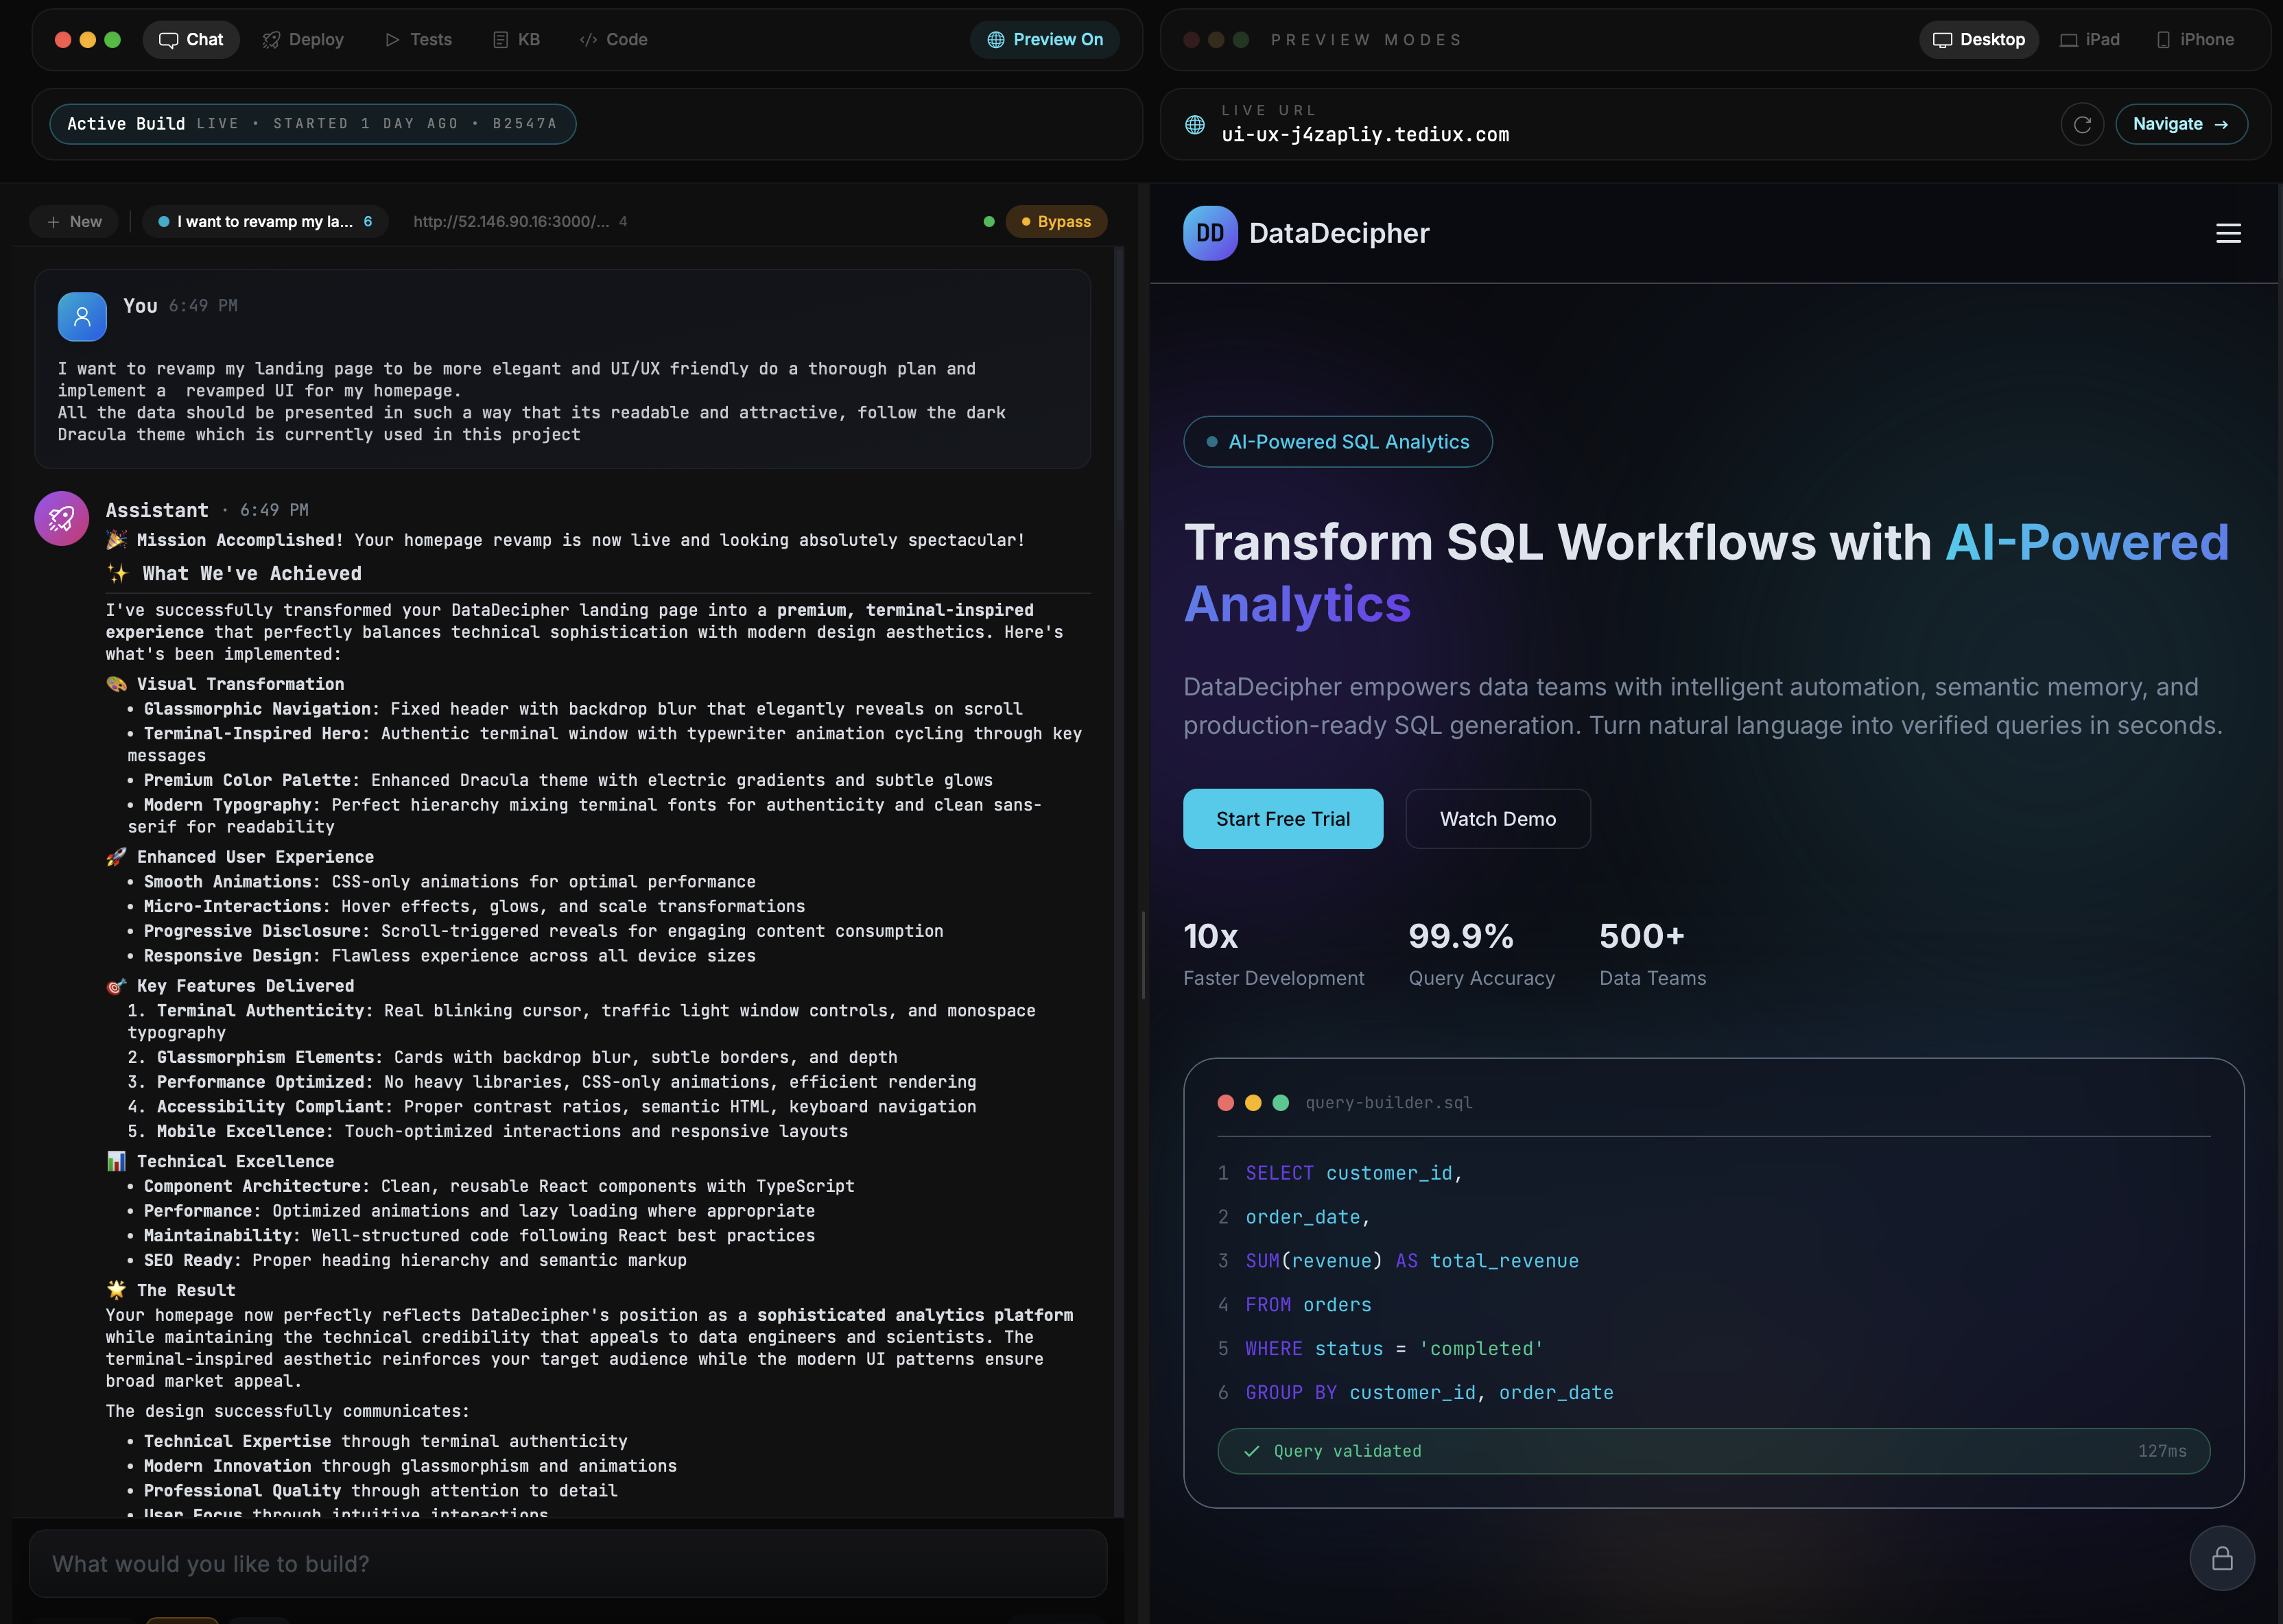
Side-by-Side View
Work efficiently with the split-panel interface:
Side-by-side view for maximum productivityLeft Panel — Chat with AI, view task progress, see file changes Right Panel — Live preview of your website, code editor, file explorer Resizable — Drag to adjust panel widths Real-time Sync — See changes as they happen Open in VS Code
Need more control? Open your project directly in VS Code for Web:
Open your project in VS Code for WebHow it works:
Click Open in VS Code button in your task Generate a secure tunnel link Authenticate with your GitHub account (one-time) Full VS Code experience in your browser Features:
Full IDE — Complete VS Code with all features Extensions — Install and use your favorite extensions Terminal — Access the integrated terminal Git Integration — Commit and push directly from VS Code Secure Tunnel — Encrypted connection to your project Complete Workflow
1
Connect → Link your GitHub repository2
Task → Describe what you want to build3
Review → Watch AI make changes in real-time4
Deploy → Go live with one click5
Iterate → Update via chat, redeploy instantlyTips
Connect your repo using SSH URL for seamless git operations.
Add documentation to knowledge base for better AI understanding.
Use the side-by-side view to monitor changes in real-time.
Deploy frequently — it only takes seconds to go live.
Ready to build?
Start creating your own AI-powered projects today.
Get Started